Tips & Resources
Using the skills of group riding will help you when you’re heading out and about with a group of friends, or even simply having a rider sit behind you on the commute.
Valuable riding tools
Mass participation events
Riding in a mass participation event, such as the Great Vic Bike Ride or United Energy Around the Bay, can be different to your regular commute or local weekend loop.
Check out his handy video with basic tips for mass participation riding, then read below for more info on hand signals and handling a group.
Hand signals
Try and get into the habit of regularly using hand signals. They become a clear indicator of your intentions that will instill confidence in those riding with you and help avoid potential hazards. If there are more than two of you, the signals should be repeated and passed down the line of riders.
Don’t forget one of the most effective signals, that can be easily forgotten – a friendly wave to a motorist or rider who has shown courtesy.
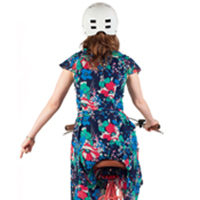
Debris / pothole
Rider’s behind you might not have a clear view of what’s happening up ahead, and they might not have time to see a hazard such as a pothole or a pile of broken glass. Give them as much advance warning as you can by pointing to the hazard as you approach it, and continue pointing as you pass it.
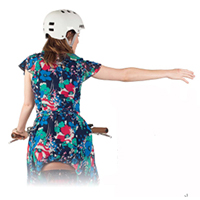
Turning
The only legally required hand signal for a bike rider is to indicate when they are turning or changing lanes to the right, but for the benefit of following riders and other road users, you should also indicate a left turn.
If you are moving right, do a very deliberate head check first, then signal.
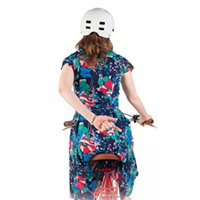
Obstacle ahead
If you’re approaching a parked car, or some other obstacle which you will need to get round, swing your left hand behind the small of your back and point to the right. If you’re going to have to pull out to get around, do a head check to see if there’s anything coming up behind you before making the manoeuvre.
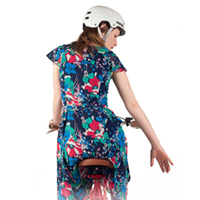
Stopping
Riders may be following at a very close range, and bikes can pull up quickly, so this is a signal you should use regularly as you slow down or prepare to stop. Throw your right arm back towards the following rider with your fingers spread and your open palm sweeping towards them.
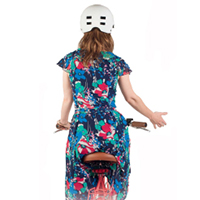
Please overtake
There are times when you’ll want riders to move ahead of you. Use a pronounced sweeping motion with your right forearm and hand, palm facing forward, and repeat a couple of times. If it’s appropriate, move slightly to the left as you do this signal to make passing easier.
Calls
Verbal calls are another valuable tool to use when riding.
Call out “passing” when overtaking a rider (always overtake on their right, and pass with consideration and care). If a car is coming up behind, call out “car back.” Also, call out “door” in a very loud voice if one is about to open on you; it alerts following riders, and may freeze the car occupant into holding the door unopened.
You can also call out the name of any hazard as you’re approaching and pointing to it, and when signaling an obstacle ahead you can shout out the name of the obstacle; for example “Car up.” In a group of riders it can also help to call out “Stopping” or “Slowing” as well as doing the appropriate hand signal.
Drafting
A huge advantage of riding behind someone is that they take the force of the headwind, while you cruise along in their slipstream. You’ll only get the full benefit if you’re close enough; about 1-1.5m when you’re learning the skill, and as you get confident, about a bike wheel distant. Allow greater distances in poor conditions, and when going downhill.
You have to be constantly vigilant and alert when riding this close to someone. Don’t get caught staring down at their back wheel; keep your head up. There are three things you should be constantly scanning: the bum/middle-back of the rider ahead to judge how close they are; over their right shoulder to see what’s happening up the road; and through their front wheel so you’re seeing the condition of the road you’re about to ride over.
When drafting, don’t overlap any part of your front wheel with the back wheel of the rider ahead; always stay behind unless overtaking. You can line up directly behind the back wheel of the rider in front, but many riders like to line up very slightly to one side; this gives a clearer view ahead and a bit more room to manoeuver.
Be wary of sitting in too close behind someone seated and riding up a hill. If they get out of the saddle they may dramatically decelerate, or even pull the bike slightly backwards, and you’ll be on top of them before you know it.
Bunch riding etiquette
1. Try to ride predictably avoiding sudden movements.
2. If you have a mechanical fault, or any other reason you need to stop in an odd place, pull over and get completely off the road.
3. If you happen to come across a group of riders who clearly know each other and are riding together, don’t automatically assume you can join their group; be polite, and ask.
4. Try not to brake too hard, or too often. Look ahead and anticipate, and if you need to slow down, try sitting up and increasing your wind resistance; your drag can often achieve the desired effect.
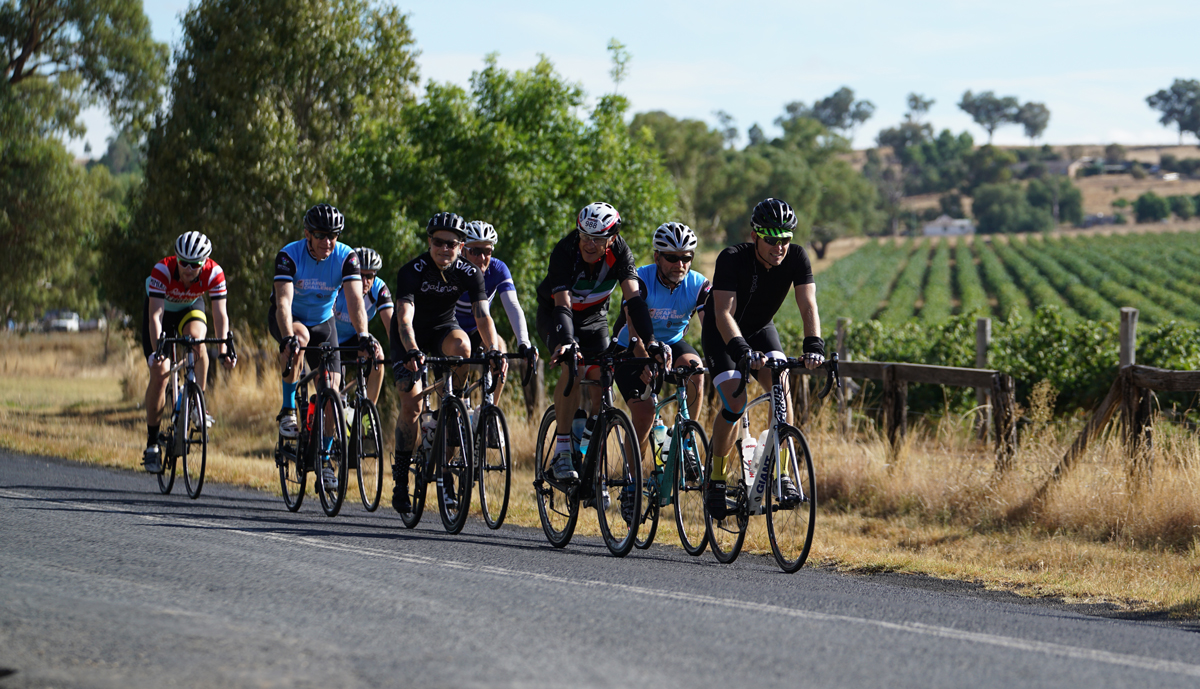
5. Don’t always be the draftee; if you’re able, take your turn riding up front.
6. Cyclists are legally allowed to ride two-abreast, as long as you’re no more than 1.5 metres apart. But common sense should indicate that sometimes it just isn’t appropriate. It might be unsafe (for example, over the crest of a hill following a blind corner) or you might be holding up traffic. Use you judgement, and err on the side of good manners and caution.
